
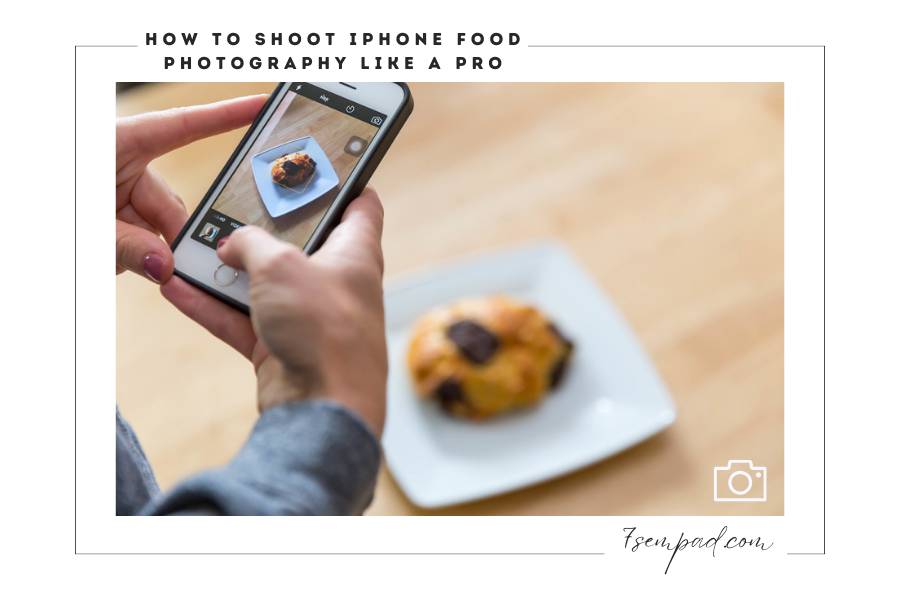
Tips for Mouthwatering iPhone Food Photography
As a food enthusiast, you’ve likely marveled at the stunning visuals of delectable dishes gracing social media feeds. With the power of your iPhone’s camera, you too can create captivating food photography that will leave your followers drooling. Here’s a passionate and emotional guide to help you master the art of iPhone food photography.
- Natural light is the key to capturing the vibrant colors and textures of your dishes. Avoid artificial light, which can cast unappealing hues on your food. Place your dishes near a window with direct sunlight, or use a diffuser to soften the light if the sun is too strong.
- Composition is crucial in food photography. To create a balanced and visually appealing image, use the grid feature on your iPhone’s camera settings to follow the rule of thirds. Place your points of interest at the intersections of the grid or along the lines.

- Adding props and thoughtful styling can elevate your images. For example, a sprinkling of Earl Grey tea leaves behind cookies can add a pop of color and visual interest.

- The Exposure Slider
The exposure slider is your best friend when shooting in varying lighting conditions. Tap to focus, then swipe up or down to increase or decrease the exposure accordingly.
- The Grid Feature
The grid feature helps you follow the rule of thirds and ensures your images are well-composed. Enable this feature in your iPhone’s camera settings.
- The Leveling Tool
To create a more professional look, use the leveling tool to ensure your camera lens is level with the ground. This will help you capture images with a more balanced composition.

- The Editing Process
Use photo editing apps like VSCO, Afterlight, or Snapseed to enhance your images. Be mindful not to overprocess your photos, as this can distract from the subject and make it look unnatural.
- The Angle of Attack
Experiment with different angles to find the best perspective for your subject. Try shooting from top-down, straight-on, or at a 25 to 75-degree angle.
- The Breathing Space
Leave some space around your subject to create a more visually appealing image. This will also help to showcase the details of your dish.

- The Emotional Connection
Remember that food photography is about more than just capturing a dish. It’s about telling a story and evoking emotions in your viewers. So, let your creativity and passion shine through in your images.
- The Final Thought
With these tips in mind, you’ll be well on your way to creating stunning iPhone food photography that will leave your followers craving more. So, grab your iPhone, and let’s capture the beauty of food together!

FAQ:
What are the benefits of using an iPhone for food photography?
- Portability and convenience – you always have your iPhone with you
- The cameras on newer iPhone models produce high-quality images
- Plenty of editing apps and tools available right on your phone
How can I take better food photos with my iPhone?
- Use natural lighting – shoot near windows or take food outside
- Get close and fill the frame with your food subject
- Play with angles – shoot from a 3/4 view or straight overhead
- Use editing apps like Lightroom, Snapseed, or VSCO to enhance images
What iPhone camera settings should I use?
- Tap to focus on your main subject
- Lock exposure and focus by holding down before taking the shot
- Use HDR mode to capture details in highlights and shadows
- Set a warm white balance if shooting in artificial light
What iPhone accessories can help with food photography?
- Clip-on smartphone lenses like macros or wide angles
- Portable LED lights or light reflectors
- Miniature tripods or grips to stabilize your shots
- Background boards, surfaces, and simple props
How can I plate food attractively for iPhone photography?
- Use small plates or boards to fit more in the frame
- Add contrasting colors and textures through garnishes
- Create movement and depth with sauces or Steam
What are some good iPhone food photography editing apps?
- Adobe Lightroom Mobile – adjustments and presets
- Snapseed – selective editing tools and filters
- VSCO – film-inspired presets and editing tools
- Foodie – designed specifically for food photography
How do I get evenly exposed images in different lighting?
- Tap to set exposure and focus on the brightest area
- Edit exposure in post-processing if needed
- Avoid harsh direct light by shooting near windows
How can I add background blur to my iPhone food photos?
- On newer iPhones, use Portrait mode to blur the background
- In editing apps, use masking or editing brushes to selectively blur
Any tips for sharing iPhone food photography on social media?
- Shoot square or vertical images for Instagram
- Use consistent editing for a recognizable style
- Utilize relevant hashtags and geotags
- Engage with the food photography community


Leave A Comment